GarmentCare Guide

Confirm the permitted heat and a clean surface
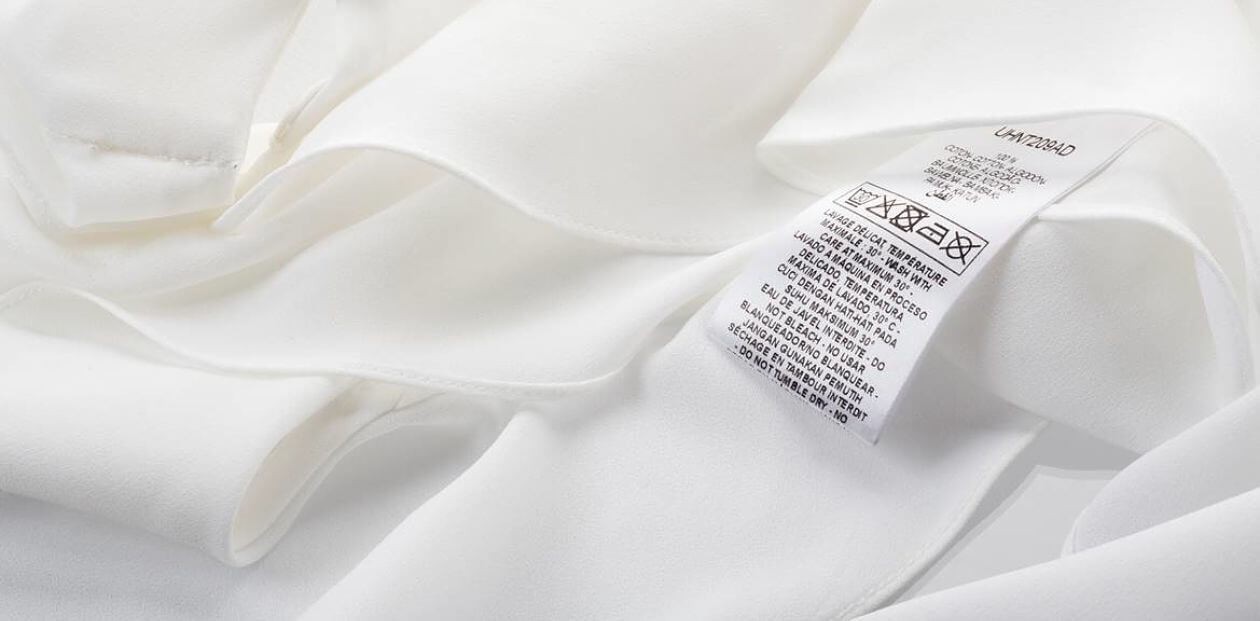
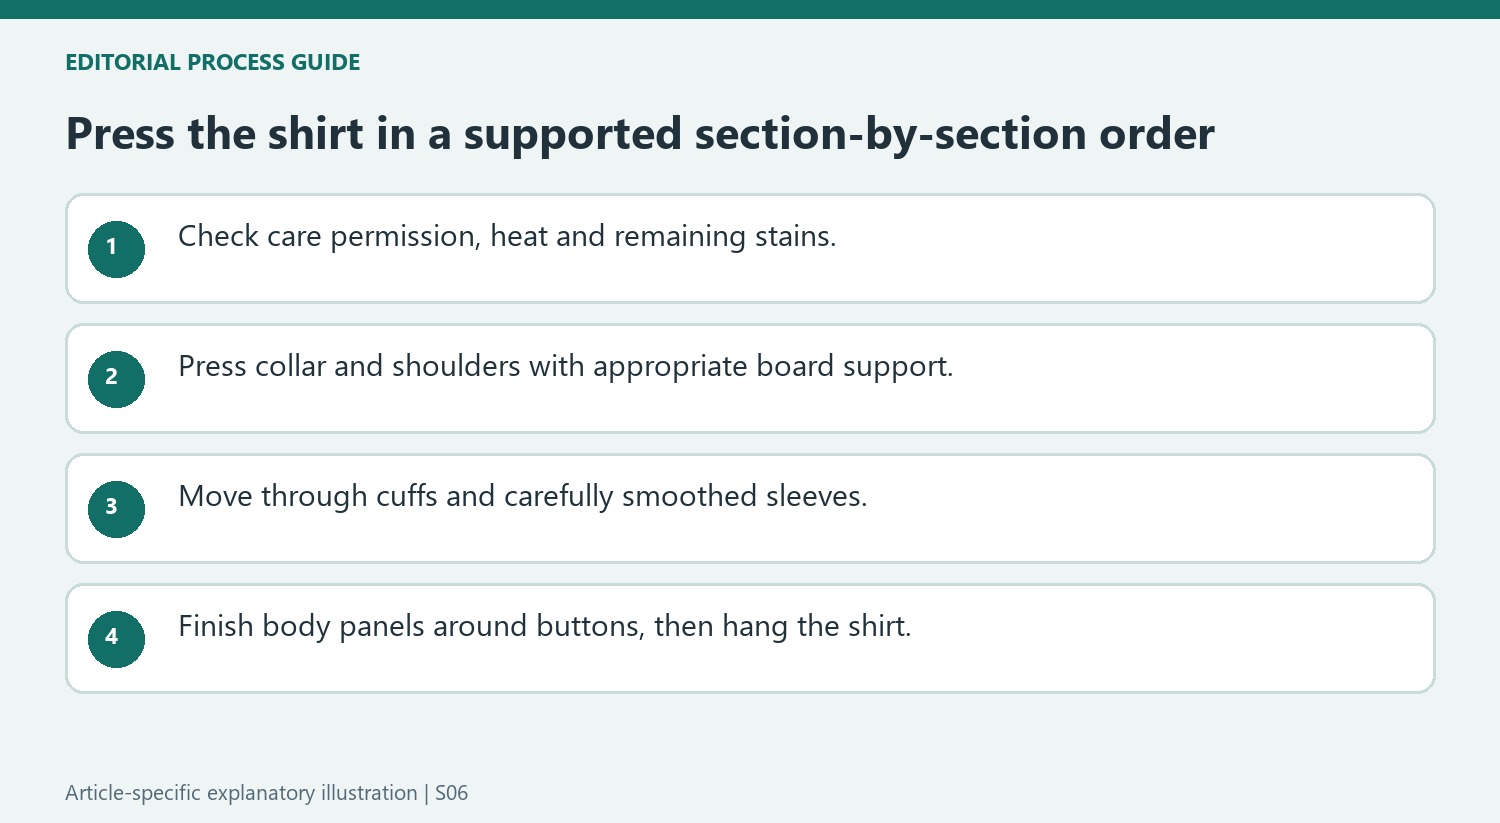
Ariel's ironing guide begins with the shirt's care label. Different fabrics and blends can require different heat settings, so the label should govern the choice rather than the appearance of the garment. The source also warns against ironing over existing stains, which can become harder to remove after heat exposure. Check the shirt before setting it on the board. Starting with an appropriately cleaned garment and a permitted temperature establishes the conditions for pressing, instead of trying to solve a stain or fabric-care question with the iron already in use.
Work through the smaller shaped areas first
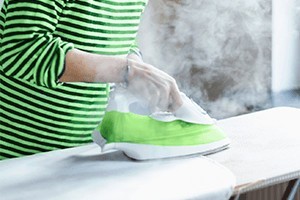
The guide starts at the collar, pressing its underside from the center toward the points before turning it over. Next, position each shoulder over the narrow end of the ironing board and work from the yoke toward the back. Cuffs come before the full sleeves: press the inside and then the outside. When laying out a sleeve, smooth the fabric by hand so unwanted folds are not trapped between the layers. This sequence gives each shaped area its own support rather than repeatedly dragging the whole shirt across an awkward surface.
Finish the body without pressing the hardware
After the sleeves, Ariel moves to the front panels and then the back. Work between buttons instead of pressing directly on them, since the source notes that pressure can break them. When finished, hang and button the shirt promptly so the freshly pressed fabric is not immediately folded into new creases. Turn the iron off and unplug it after use. The sequence is practical because it connects preparation, support and handling: the heat setting matters, but so does the way each part of the shirt is placed and moved during pressing.
A shirt's label comes before the iron setting
The guide begins with checking the permitted treatment because shirts with a similar appearance can use different blends or finishes. A broad cotton or polyester association is less specific than the completed item's own instructions. Inspect for remaining stains as well, since applying heat can make a mark harder to remove. If a stain needs attention, address it through suitable cleaning before pressing that area. This preparation gives the ironing sequence a sound starting point. The iron is then used to smooth the clean garment within its allowed heat, rather than as an improvised tool for resolving a stain or testing how much heat an unidentified fabric can withstand.
Support each shaped section before moving the iron
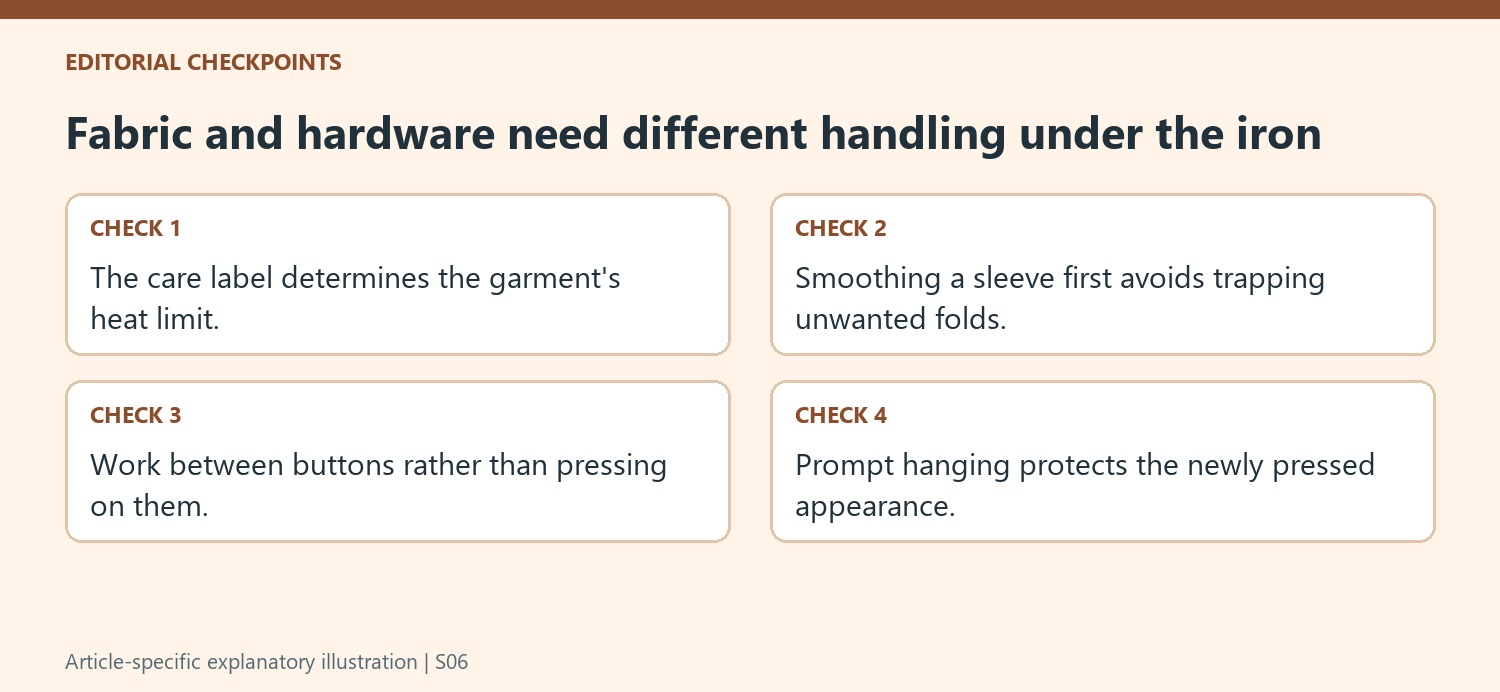
Ariel's order begins with the collar and shoulders, then moves through cuffs and sleeves before the larger body panels. The narrow end of the board helps support a shoulder, while a laid-out sleeve needs smoothing by hand to avoid trapping an unwanted fold between its layers. These positioning steps matter because heat acts on whatever arrangement is placed beneath the soleplate. A folded or doubled section can be pressed into a crease rather than smoothed. Work through one supported area at a time instead of dragging the entire shirt repeatedly across the board. This keeps the handling deliberate and helps connect the sequence with the shape of the finished garment.
Protect the hardware and the newly pressed result
The guide tells the user to work between buttons rather than press directly onto them. Hardware needs different handling from the fabric around it, and pressure can break a button. After the body panels are finished, hang and button the shirt promptly so the surface is not immediately folded into fresh creases. The source also finishes with turning off and unplugging the iron. These ending steps are part of the routine rather than unrelated housekeeping. A suitable temperature and careful sequence produce a result that still needs appropriate handling afterward. Preparing a hanger before starting makes the transition straightforward and keeps a freshly pressed shirt from being left in a heap beside the board.